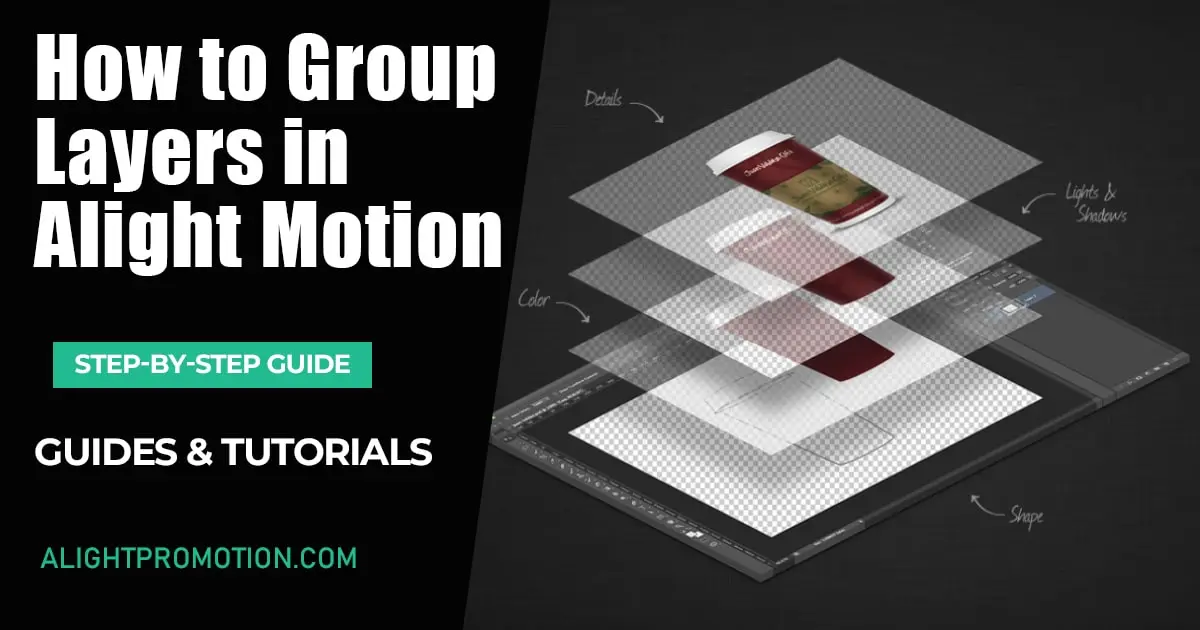
How to Group Layers in Alight Motion? Easy Intuitive guide
Looking for a simple trick to group layers in Alight Motion then look no further, In this blog we will teach you how you can group layers in Alight Motion. In this feature, you can create and edit your professional videos and make your editing process simple and manageable. The main object of this feature is, that you can manage and edit every part of your video . Without layers of editing, it is very difficult to edit video and manage content on your video.

Alight Motion is a powerful video editing application that offers us various exciting features for professional high-quality videos. It has some amazing features like green screen animation, keyframe animation, transitions, animations, importing XML files, masking feature, and adding different layers. In this article we will discuss how to group layers in Alight Motion and we will provide all guidelines and tutorial to used this amazing feature completely.
Steps to Create Layers in Alight Motion:
To easily create layers in Alight Motion, we will tell you simple steps. And you can follow these steps to create layers easily.
Step 1 – Open the Alight Motion App and load your any project
Step 2 – On the bottom tab, click the layers to access the layers section.
Step 3 – In the layers option, you will see a layer’s section, where you can add different layer in your project.
Step 4 – There are various types of layers like image, shapes, text, videos, stickers and many more.
Step 5 – You can just follow the on- screen instruction on to customize the layers according to your needs.
Step 6 – Once, you have created a layer successfully, they will appear in layers section. Further, you also add additional layers into your project.
Steps to Group Layers in Alight Motion:
Now, we will teach you how to group layers in the Alight Motion, with this amazing feature, you can easily give your normal videos a professional look and vibe. So, here are some simple steps to group layers in Alight Motion.
Step 1 – Open the app and load your project.
Step 2 – Tap the layer icon to open layers section.
Step 3 – In layer section, you will find different kinds and varieties of layers to add.
Step 4 – You can add photos, video, text, shapes and sticker layers in your video.
Step 5 – After selectin layers, your first layer will be completed and you can also add additional layer in your project by repeating this process.
Step 6 – After making more than two or three layers, you will see a group or a folder like icon at the bottom of layers panel.
Step 7 – After pressing that icon, all of your layers will be grouped. And you can also rename that group to by tapping on its name or entering a new name in it.
Step 8 – After grouping layers, you can press the arrow icon if the group icon to expand the group and to give access to layers inside the group.
Steps to Ungroup Layers in the Alight Motion
By Following these few steps, you can easily ungroup the grouped layers in Alight Motion.
Step 1 – After selecting grouped layers, click the three dots in the top right corner.
Step 2 – And then you will see an ungroup option.
Step 3 – After selecting that option, all of your grouped layers will be ungrouped.
Conclusion
Grouping layers is one of the best editing features that Alight Motion Provides. It is the best way to edit your video easily and with expertise. By connecting multiple layers, you can control their transitions, effects, and movements easily. After reading this article, you will be able to create and group layers. By using this feature, you can easily edit professional-level video just by using this app.
Alight Motion can sometime require you to buy premium package so you can use features available other than free version, but we have here guided how you can use Alight motion for free without buying any subscription.


